Appointment Slots are a variation of our Virtual Clinic feature that allow you to list available dates and times on a public calendar, so that current and prospective clients can request a scheduled session from you.
If you are an Account Administrator of an organization with 3 or fewer hosts, you can use the Self-Scheduling Setup Wizard to take you through every step of a basic setup. If you have an organization with more than 3 hosts, please contact our support team at [email protected].
You may also be interested in:
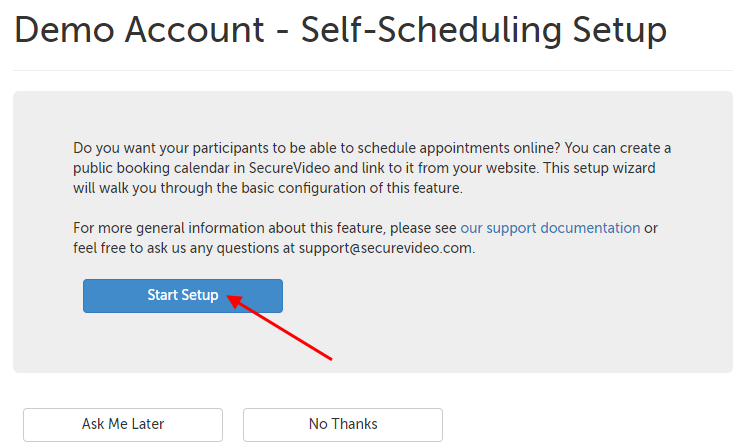
1. The prompt to start the Self-Scheduling Setup Wizard will look like the below. Click "Start Setup" to begin using the wizard.
- Clicking "Ask Me Later" will dismiss this prompt for today. It will appear again the next time you log in on a different day.
- Clicking "No Thanks" will dismiss this prompt completely for you. It may still appear to other Account Administrators in your organization (if applicable). If you change your mind regarding the scheduling wizard, please contact our support team.
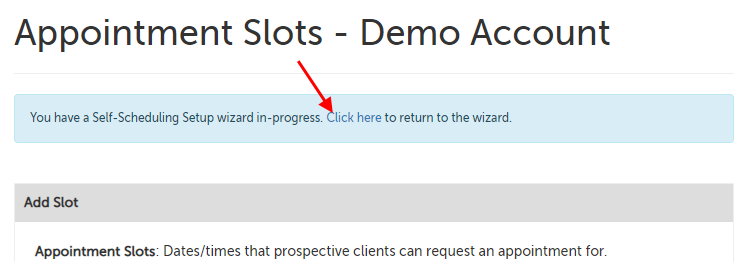
At any point when using the wizard, you can pause the process and return to it later. If you pause the wizard, your progress will be saved, and you will see a link to return to the wizard at the top of every page that looks like this:

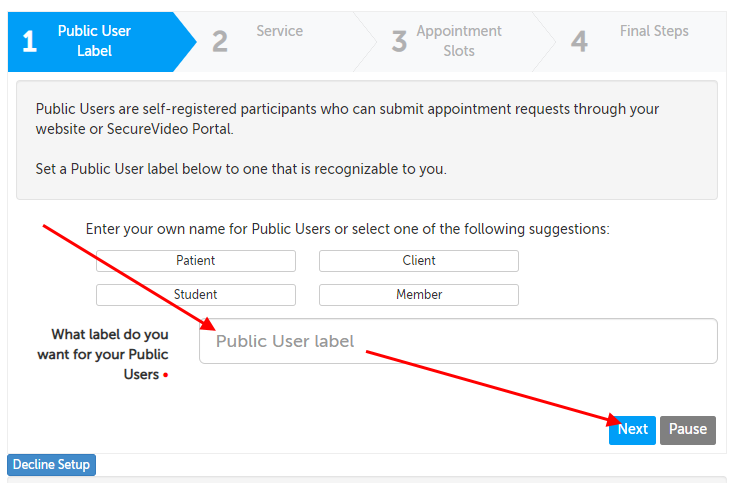
2. Do you have a term that you use to describe your participants, like "Patients" or "Clients"? Type that into the "Public User Label" step (or click on one of the suggestion buttons), and then click "Next".
- If you want to change this later, you can do so from your Account Options, in the "Scheduling" section. The option name is "Public User Label".
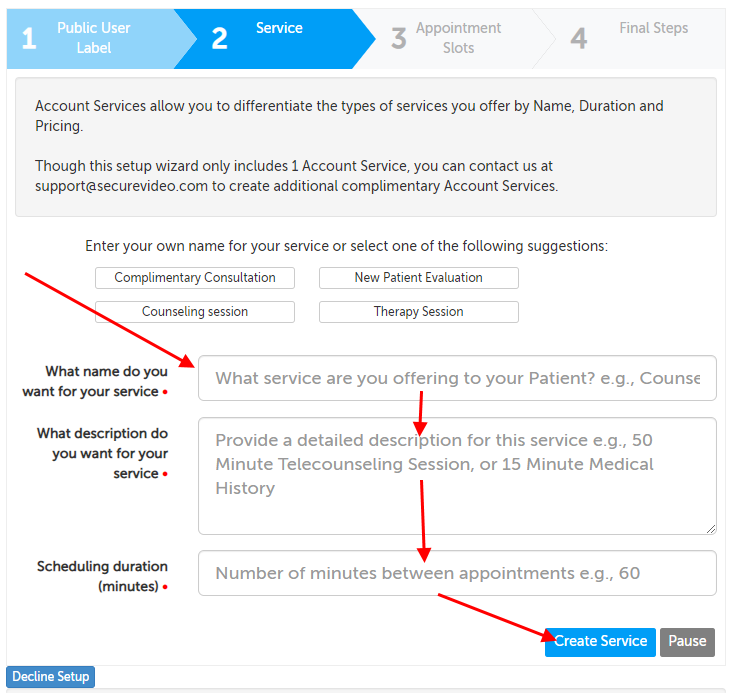
3. Describe the service that the participant can request. The name and description you enter will be visible to anyone viewing your public booking calendar. Once you have filled out the fields, click "Create Service" to proceed.
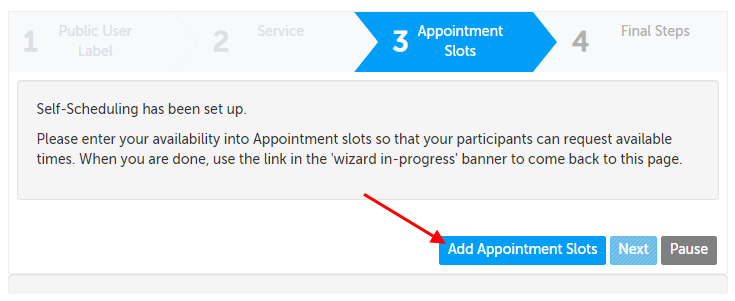
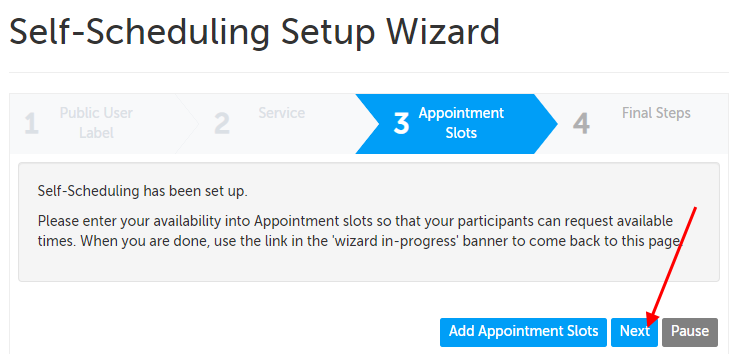
4. Click on the "Add Appointment Slots" button to go to the page where you can add your availability.
5. After you have added your availability on the next page, click the "Click Here" link at the top of the page to return to the wizard.
6. Click the "Next" button to continue.
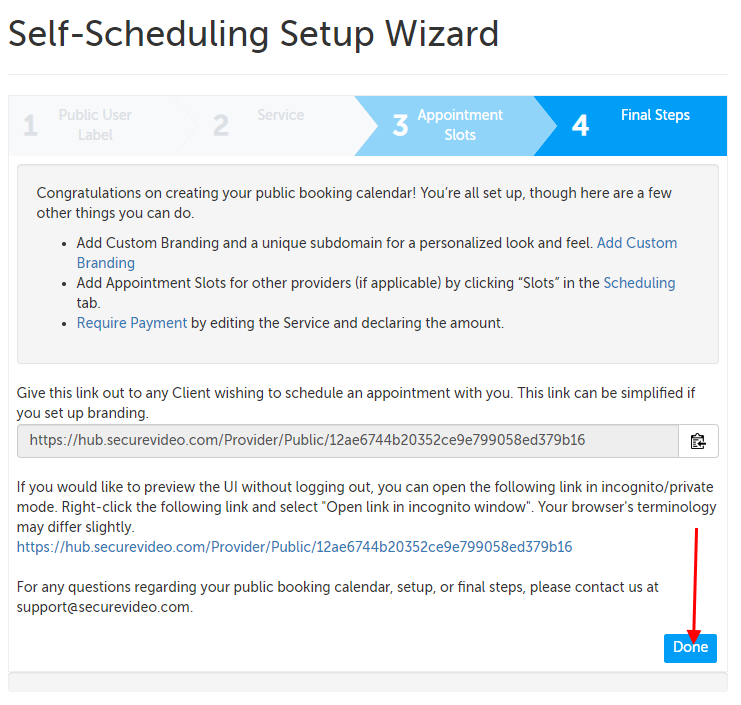
7. The final page may make additional suggestions and show the link that you can post to your website or share with participants to view your booking calendar.
Click the "Done" button to finish the wizard. Once the wizard is finished, the link to return to this page will no longer appear at the top of other pages when you navigate away.
This article was last reviewed by our Support team on August 21, 2022.